The Five Minute Install
IMPORTANT: Sensu Enterprise reached end-of-life (EOL) March 31, 2020, and we permanently removed the Sensu EOL repository on February 1, 2021.
This means the repositories specified in the instructions and code examples below are no longer available. To migrate to Sensu Go, read Migrate from Sensu Core and Sensu Enterprise to Sensu Go.
This installation guide is intended to help you install Sensu Enterprise in a development environment for testing purposes.
WARNING: This installation guide is not meant for production systems. To install Sensu in production, see the complete installation guide or install Sensu using configuration management.
After completing the steps in this guide, you will have a fully functional Sensu Enterprise installation in a standalone configuration.
Installation Requirements
What will you need to complete this guide?
- A virtual machine, or physical computer running 64-bit CentOS 7 with a minimum of 2GB of memory (4GB recommended)
- A free trial of Sensu Enterprise and access credentials from the Sensu account manager
- Familiarity with a text editor and the Linux command-line interface
- 300 seconds (the amount of time it should take to complete this installation)
Ready? Let’s get started!
Install Sensu Enterprise in five minutes or less
The following installation steps will help you get Sensu Enterprise installed in a standalone on a system running CentOS 7, only. For installation on other platforms, or alternative installation configurations, please consult the installation guide.
0. Install EPEL (if not already done)
sudo yum install epel-release -y1. Set up your Sensu Enterprise credentials
If you haven’t done so already, sign up for a free trial of Sensu Enterprise, and get your access credentials from the Sensu account manager.
Replace 1234567890 and PASSWORD with your access credentials from the Sensu account manager, and run the following command to set your access credentials as environment variables:
SE_USER=1234567890
SE_PASS=PASSWORD
Confirm that you have correctly set your access credentials as environment variables with:
$ echo $SE_USER:$SE_PASS
1234567890:PASSWORD
2. Create the YUM repository configuration files for Sensu Enterprise, Sensu Enterprise Dashboard, and Sensu Core:
Add the Sensu Enterprise repository:
echo "[sensu-enterprise]
name=sensu-enterprise
baseurl=https://$SE_USER:$SE_PASS@enterprise.sensuapp.com/yum/noarch/
gpgkey=https://repositories.sensuapp.org/yum/pubkey.gpg
gpgcheck=1
enabled=1" | sudo tee /etc/yum.repos.d/sensu-enterprise.repo
Add the Sensu Enterprise Dashboard repository:
echo "[sensu-enterprise-dashboard]
name=sensu-enterprise-dashboard
baseurl=https://$SE_USER:$SE_PASS@enterprise.sensuapp.com/yum/\$basearch/
gpgkey=https://repositories.sensuapp.org/yum/pubkey.gpg
gpgcheck=1
enabled=1" | sudo tee /etc/yum.repos.d/sensu-enterprise-dashboard.repo
Add the Sensu Core repository (required for Sensu Enterprise to use the Sensu client):
echo '[sensu]
name=sensu
baseurl=https://sensu.global.ssl.fastly.net/yum/$releasever/$basearch/
gpgkey=https://repositories.sensuapp.org/yum/pubkey.gpg
gpgcheck=1
enabled=1' | sudo tee /etc/yum.repos.d/sensu.repo
3. Install Redis (>= 1.3.14) from EPEL:
sudo yum install redis -y4. Disable Redis protected mode
When using Redis 3.2.0 or later, you will need to edit /etc/redis.conf in
order to disable protected mode.
Look for a line that reads:
protected-mode yesand change it to:
protected-mode no5. Enable and start Redis:
sudo systemctl enable redis
sudo systemctl start redis
6. Install and start RabbitMQ:
Install Erlang (required for RabbitMQ):
sudo yum install https://dl.bintray.com/rabbitmq/rpm/erlang/20/el/7/x86_64/erlang-20.1.7.1-1.el7.centos.x86_64.rpmInstall RabbitMQ:
sudo yum install https://dl.bintray.com/rabbitmq/rabbitmq-server-rpm/rabbitmq-server-3.6.12-1.el7.noarch.rpmConfigure RabbitMQ to work with Sensu:
echo '{
  "rabbitmq": {
    "host": "127.0.0.1",
    "port": 5672,
    "vhost": "/sensu",
    "user": "sensu",
    "password": "secret",
    "heartbeat": 30,
    "prefetch": 50
  }
}' | sudo tee /etc/sensu/conf.d/rabbitmq.json
Start RabbitMQ:
sudo systemctl start rabbitmq-server
sudo systemctl enable rabbitmq-server
Create a RabbitMQ vhost and user to allow Sensu services to connect to RabbitMQ:
sudo rabbitmqctl add_vhost /sensu
sudo rabbitmqctl add_user sensu secret
sudo rabbitmqctl set_permissions -p /sensu sensu ".*" ".*" ".*"
7. Install Sensu Enterprise and the Sensu Enterprise Dashboard:
sudo yum install sensu sensu-enterprise sensu-enterprise-dashboard -y8. Configure the Sensu client:
Run the following to set up a minimal client config:
echo '{
  "client": {
    "environment": "development",
    "subscriptions": [
      "dev"
    ]
  }
}' |sudo tee /etc/sensu/conf.d/client.json
9. Configure the Sensu Enterprise Dashboard:
echo '{
  "sensu": [
    {
      "name": "sensu",
      "host": "127.0.0.1",
      "port": 4567
    }
  ],
  "dashboard": {
    "host": "0.0.0.0",
    "port": 3000
  }
}' |sudo tee /etc/sensu/dashboard.json
10. Make sure that the sensu user owns all of the Sensu configuration files:
sudo chown -R sensu:sensu /etc/sensu11. Start Sensu Enterprise, the Sensu Enterprise Dashboard, and the Sensu client:
sudo systemctl enable sensu-{enterprise,enterprise-dashboard,client}
sudo systemctl start sensu-{enterprise,enterprise-dashboard,client}
Nice work! You have successfully installed and configured Sensu.
You can verify that your installation is ready to use by querying the Sensu API
using the curl utility (and piping the result to the jq utility):
sudo yum install jq curl -y
curl -s http://127.0.0.1:4567/clients | jq .
The Sensu Enterprise API should return a JSON array of Sensu clients similar to this:
[
  {
    "name": "localhost.localdomain",
    "address": "10.0.2.15",
    "environment": "development",
    "subscriptions": [
      "dev",
      "client:localhost.localdomain"
    ],
    "version": "1.5.0",
    "timestamp": 1536689795
  }
]
You can also use the settings API to see Sensu Enterprise’s full configuration:
curl -s http://127.0.0.1:4567/settings | jq .You now be able to view the Sensu Enterprise Dashboard in your browser by visiting http://hostname:3000 (replacing hostname with the hostname or IP address of the system where the dashboard is installed).
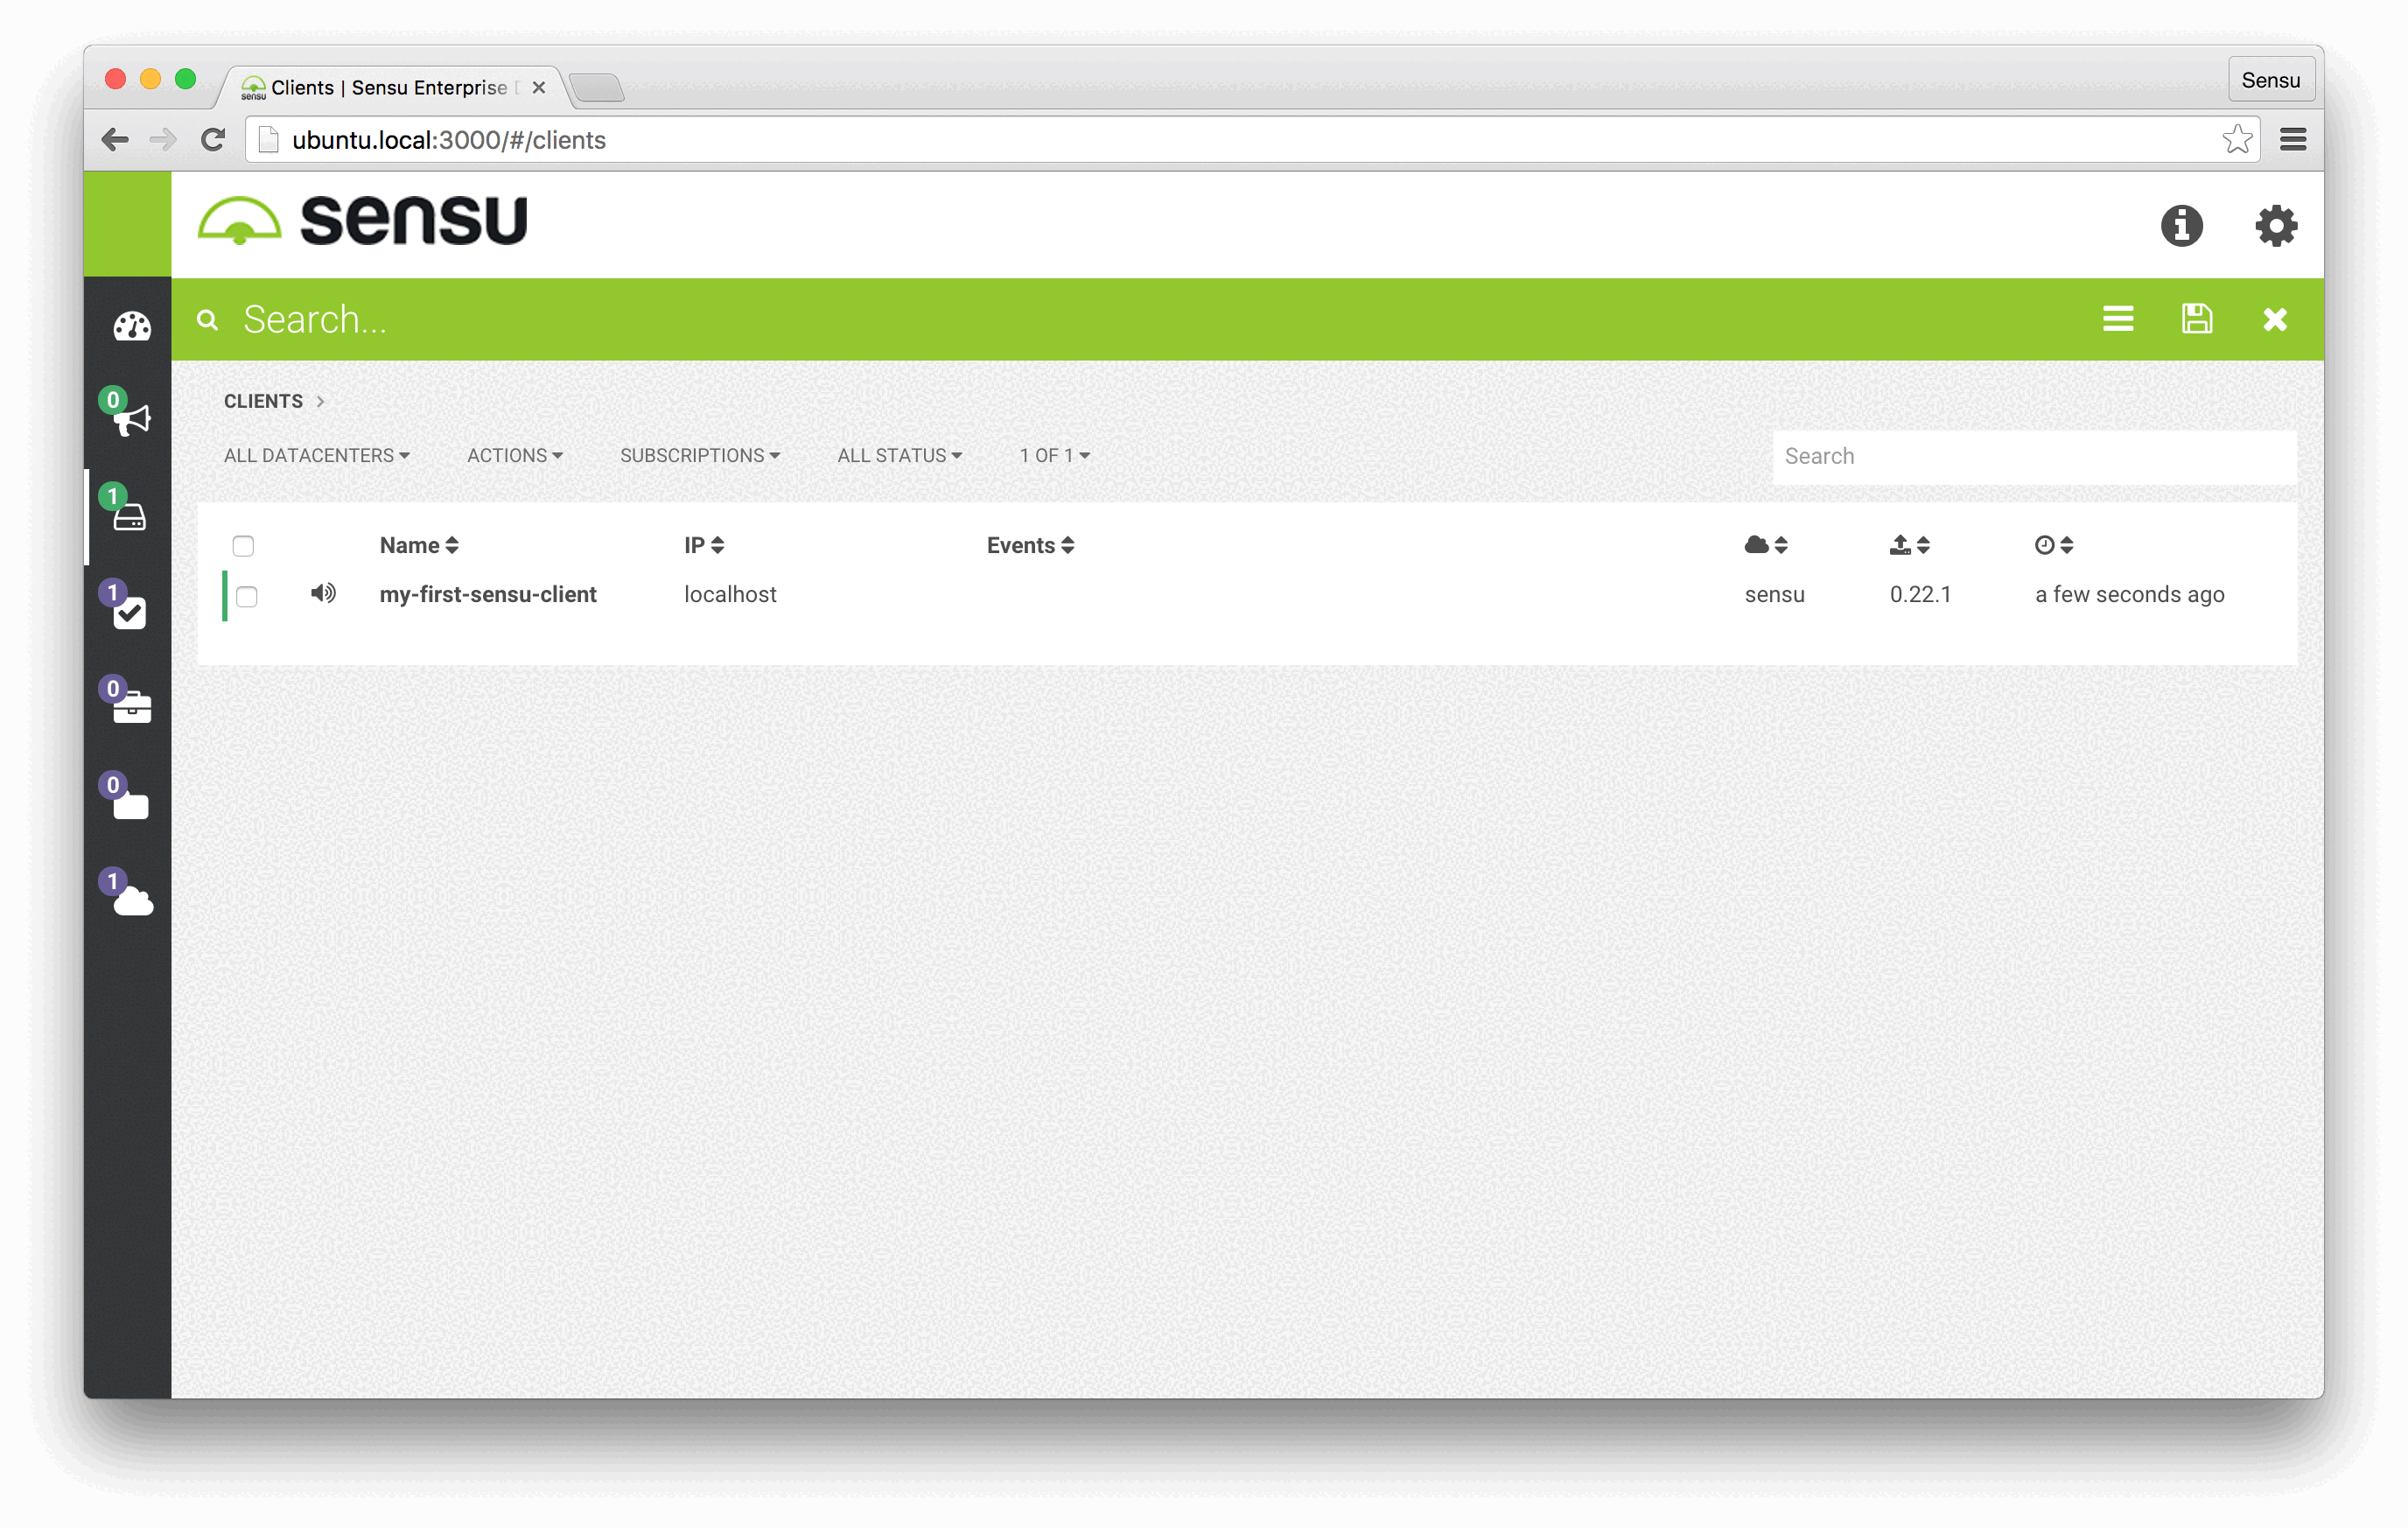
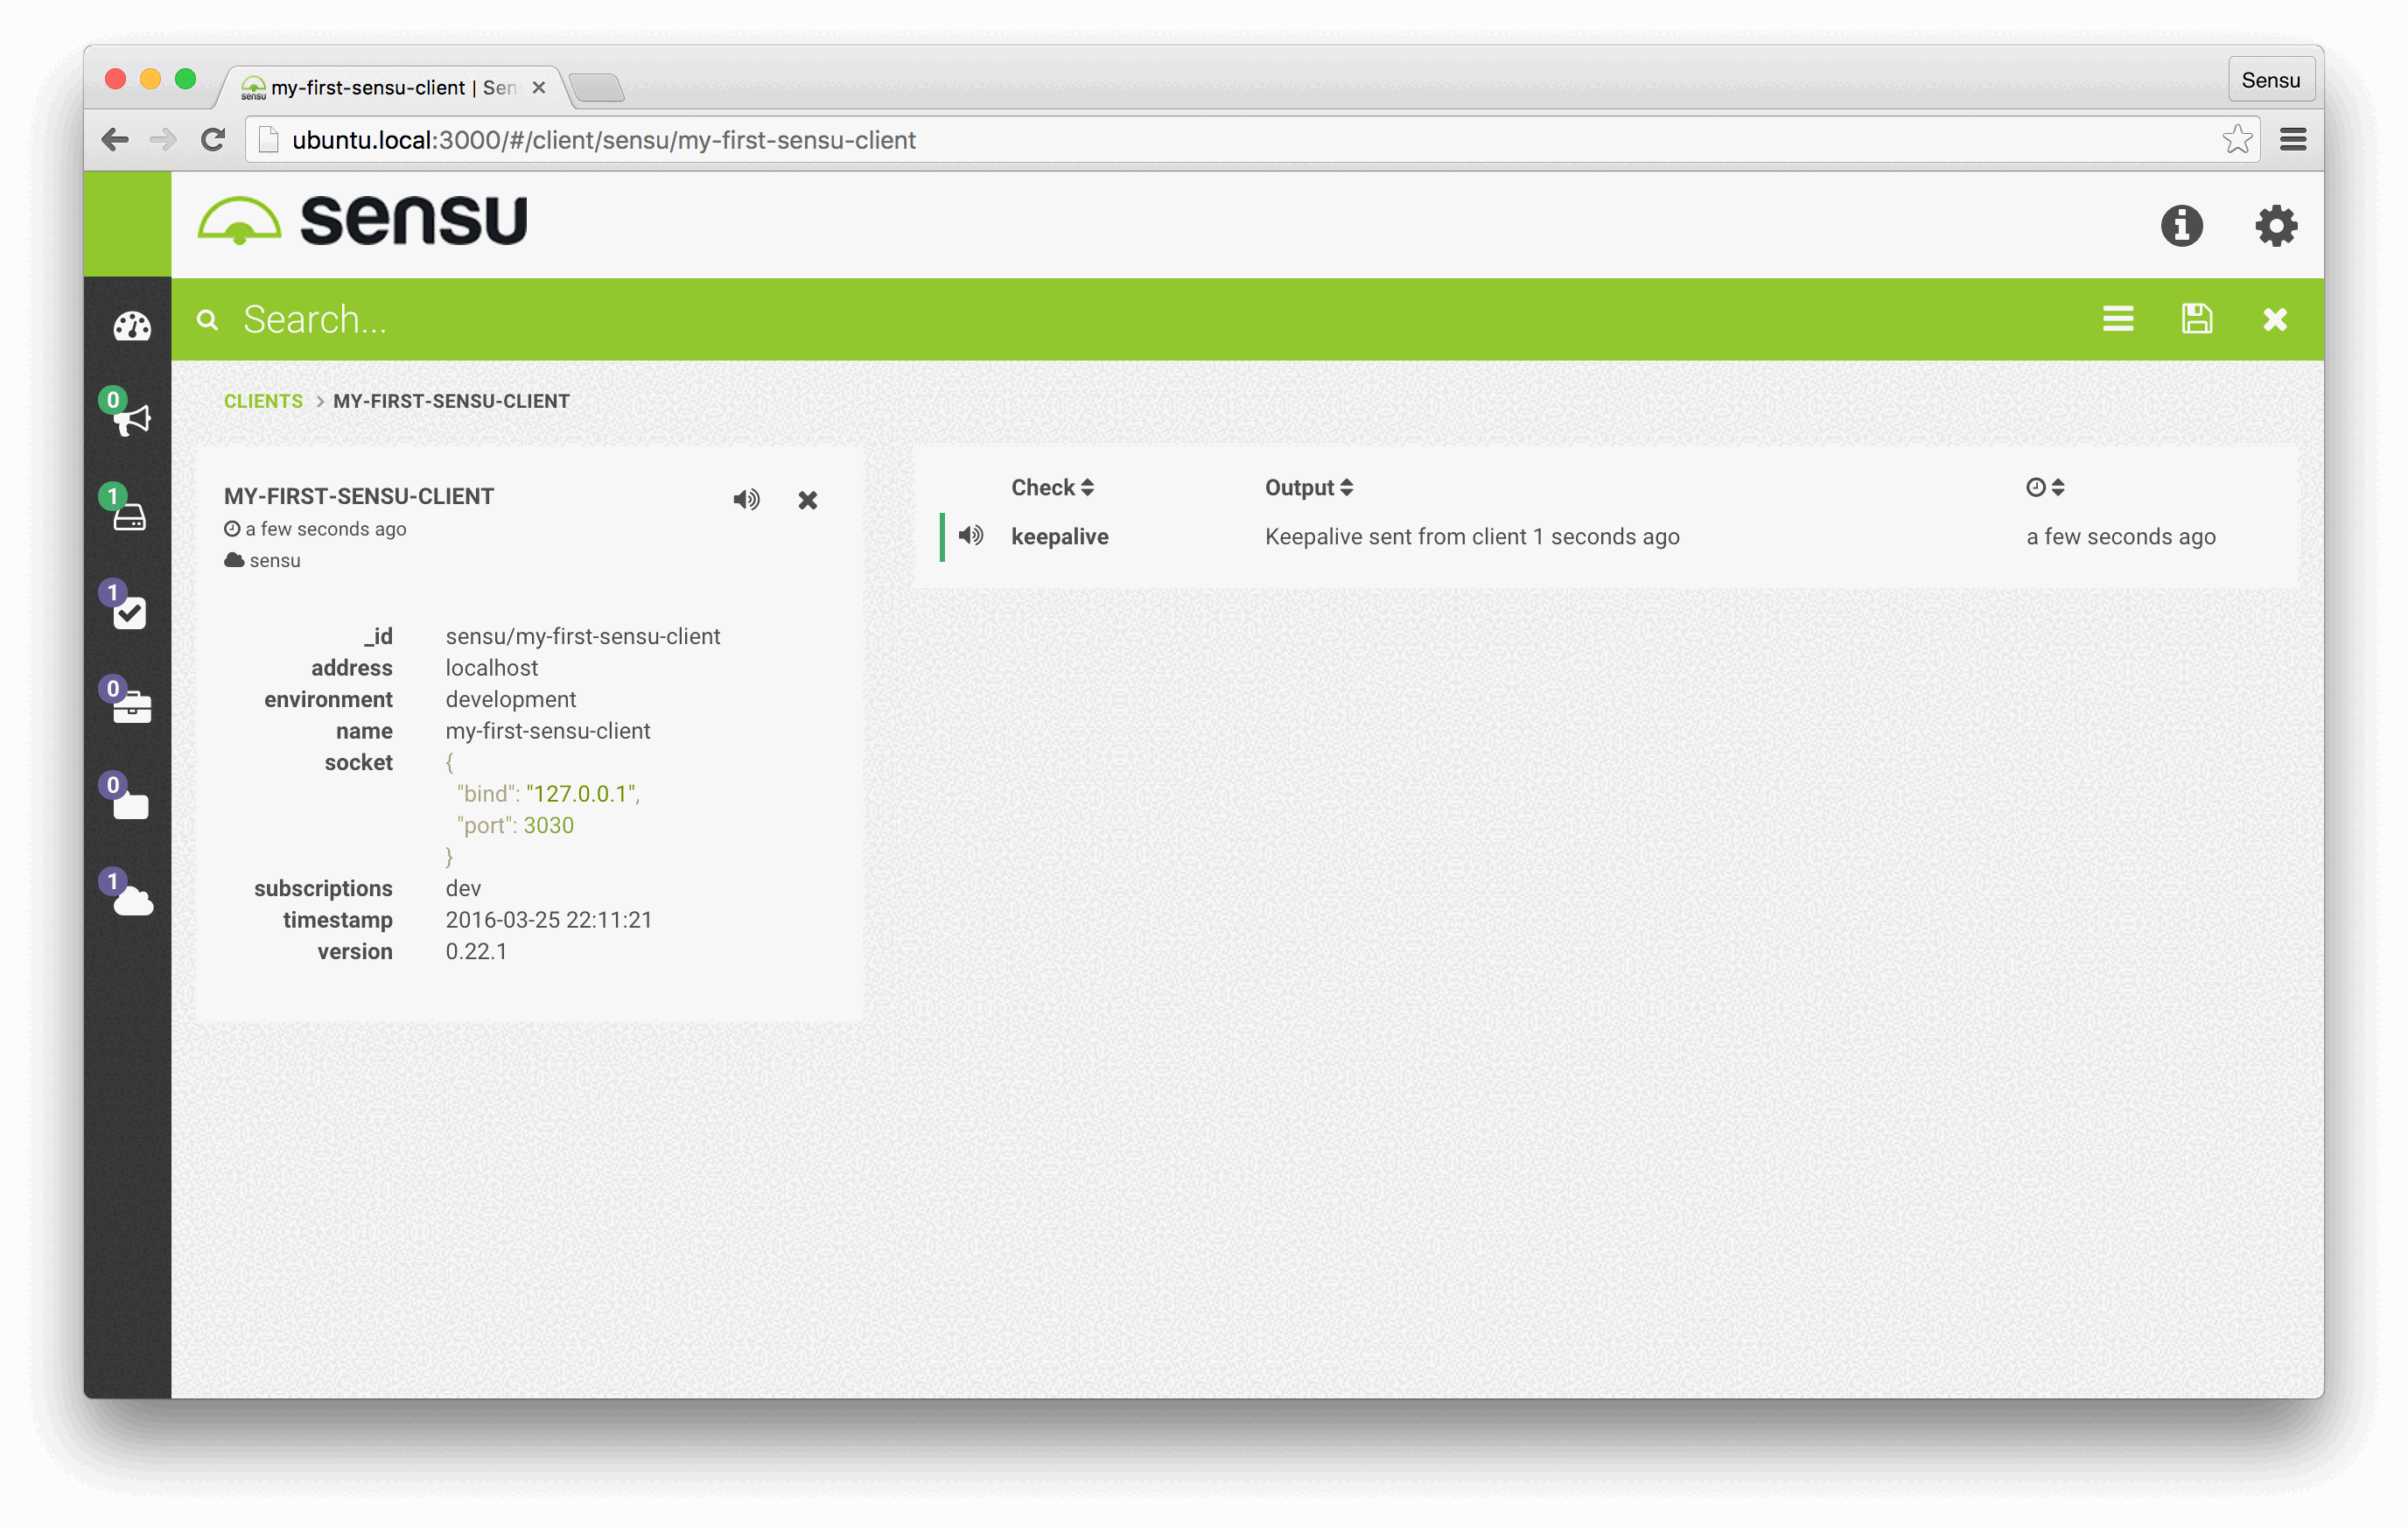
Now you’re ready to start building monitoring event pipelines with Sensu!